


Every so often, you find yourself needing a particular software, but sadly, it is unavailable for
There are ways you can now operate Windows while staying with the you so much love. One of those ways is Dual Booting Mac Dual Boot. Check out how to Dual Boot using Bootcamp.
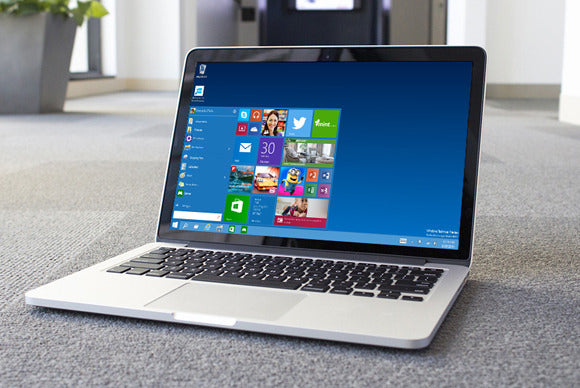
Another method of using Windows on our Mac is through Virtualization, and this is what we will be discussing here.
Virtualization gives you the ability to use Windows software on your Mac without the need to restart your computer into a Windows OS as Dual Booting requires you to do. You should use Virtualization when you don’t need to run any program that has high requirements in terms of graphics and storage capacity. It is equally suitable when you need to navigate between a Windows-enabled software and a -enabled software often.
While Dual Booting can be used free of charge, the best options for Virtualization are the ones. Nonetheless, you can use VirtualBox free of charge for Virtualization.
Check here for the requirements before you can use Windows on Your Mac.
How to Virtualize Windows in VirtualBox

VirtualBox is available free of charge. However, it is not as easy to figure out as Parallels, which is a paid option. If you’re contemplating something fundamental without any advanced features, and you can deal with the little technical setup required, then VirtualBox is perfect for you.
Religiously follow the steps below to be able to use VirtualBox to Windows:
- Download and Install VirtualBox as you would your regular Mac application.
- Launch VirtualBox and click the “New” button located in the toolbar. Now, you have a new virtual machine which you can rename.
- Select your OS from the list. There’s a higher probability yours will be a Windows 10 (64-bit) OS.
- Allocate RAM and hard drive space to your virtual machine as needed. If you’ve referred to our suggestions on requirements before using Windows on Your Mac, then you understand how to allocate the necessary resources. If not, you can read it up here. As a guide for VirtualBox, ensure you remain within the green bar for RAM and select “Dynamically allocated” for disk space.
- When the installation is complete, select the virtual machine you created in the sidebar. Next, click “Settings” in the toolbar.
- In the System>Processor section, allot additional cores to Windows if you have enough to spare.
- Go to the Storage tab and load your downloaded ISO.
- Click the “CD” icon that reads “Empty” and click “Choose Virtual Optical Disk File” on the right side of the window. VirtualBox now points to your ISO. Click “OK” when comp.

- Next, click the green “Start” button in the toolbar. VirtualBox will launch your Windows installer. Set it up as you would set up a new PC.
- You will have an empty virtual hard disk, so when prompted, you need to choose “Custom Install” and select your hard drive.
- Click “New” to format your hard drive.
Once your Windows is fully functional, you should go to Devices>Insert Guest Additions CD Image, and run the Guest Additions installer within Windows. You’ll get improved video support, shared folders and a bunch of other necessary integrations by doing this. You will also be able to run Windows application from your Mac desktop when you use the Seamless Mode. You can find this in the “View” menu of VirtualBox.
How to Virtualize Windows in Parallels
For you who think VirtualBox is too technical, you can consider Parallels. Also, if you need more functionality, such as being able to your Boot Camp partition, Parallels will do this for you and more.

- Download Parallels. You have a free 10-day trial. However, you move to the paid version once the trial period ends.
- Install Parallels on your Mac. If you have a Boot Camp partition existing, you can use that as your Windows installation. If you don’t, click the “Install Windows” button. All you have to do now is to sit and relax while Parallels runs. When completed, you get a Windows desktop.
- Create a Parallels account so that you can access it.
- Install the programs you want. You can now use as you would use a regular Windows PC.
- You can change the resource allocation in “Settings” if you feel the need to add or reduce the RAM or CPU your Windows is getting.
- Use “Coherence Mode” to launch Windows’ app in their dedicated window on your Mac.
Now, you don’t have to spend extra money to get a new computer just because you need to complete a task.
If you have other methods of using Windows on Mac, or blog topic suggestions, you can send an email to raphael@voltacharger.com.

Leave a comment
This site is protected by hCaptcha and the hCaptcha Privacy Policy and Terms of Service apply.